Exploring Color Value: Adding White and Black to a Hue
As an art teacher, one of the most essential concepts I love teaching my students is understanding color value. Color value refers to the lightness or darkness of a color, which can dramatically affect the mood, depth, and dimension of an artwork.
When working with colors, we can create different values by adding white or black to a base hue, which changes its intensity. The result? Tints and shades, two key aspects of color value that allow us to create a wide range of hues.
What are Tints and Shades?
- Tints: When you add white to a color, it lightens the hue, resulting in a tint. Tints are usually softer and more pastel-like. For example, if you add white to red, you get a lighter pink.
- Shades: When you add black to a color, it darkens the hue, creating a shade. Shades can evoke a sense of depth, mystery, or drama. For instance, adding black to blue gives you a deeper, darker blue.
Understanding tints and shades is an important skill for any artist, as it helps in creating the illusion of light and shadow in a piece, adding more visual interest and dimension.

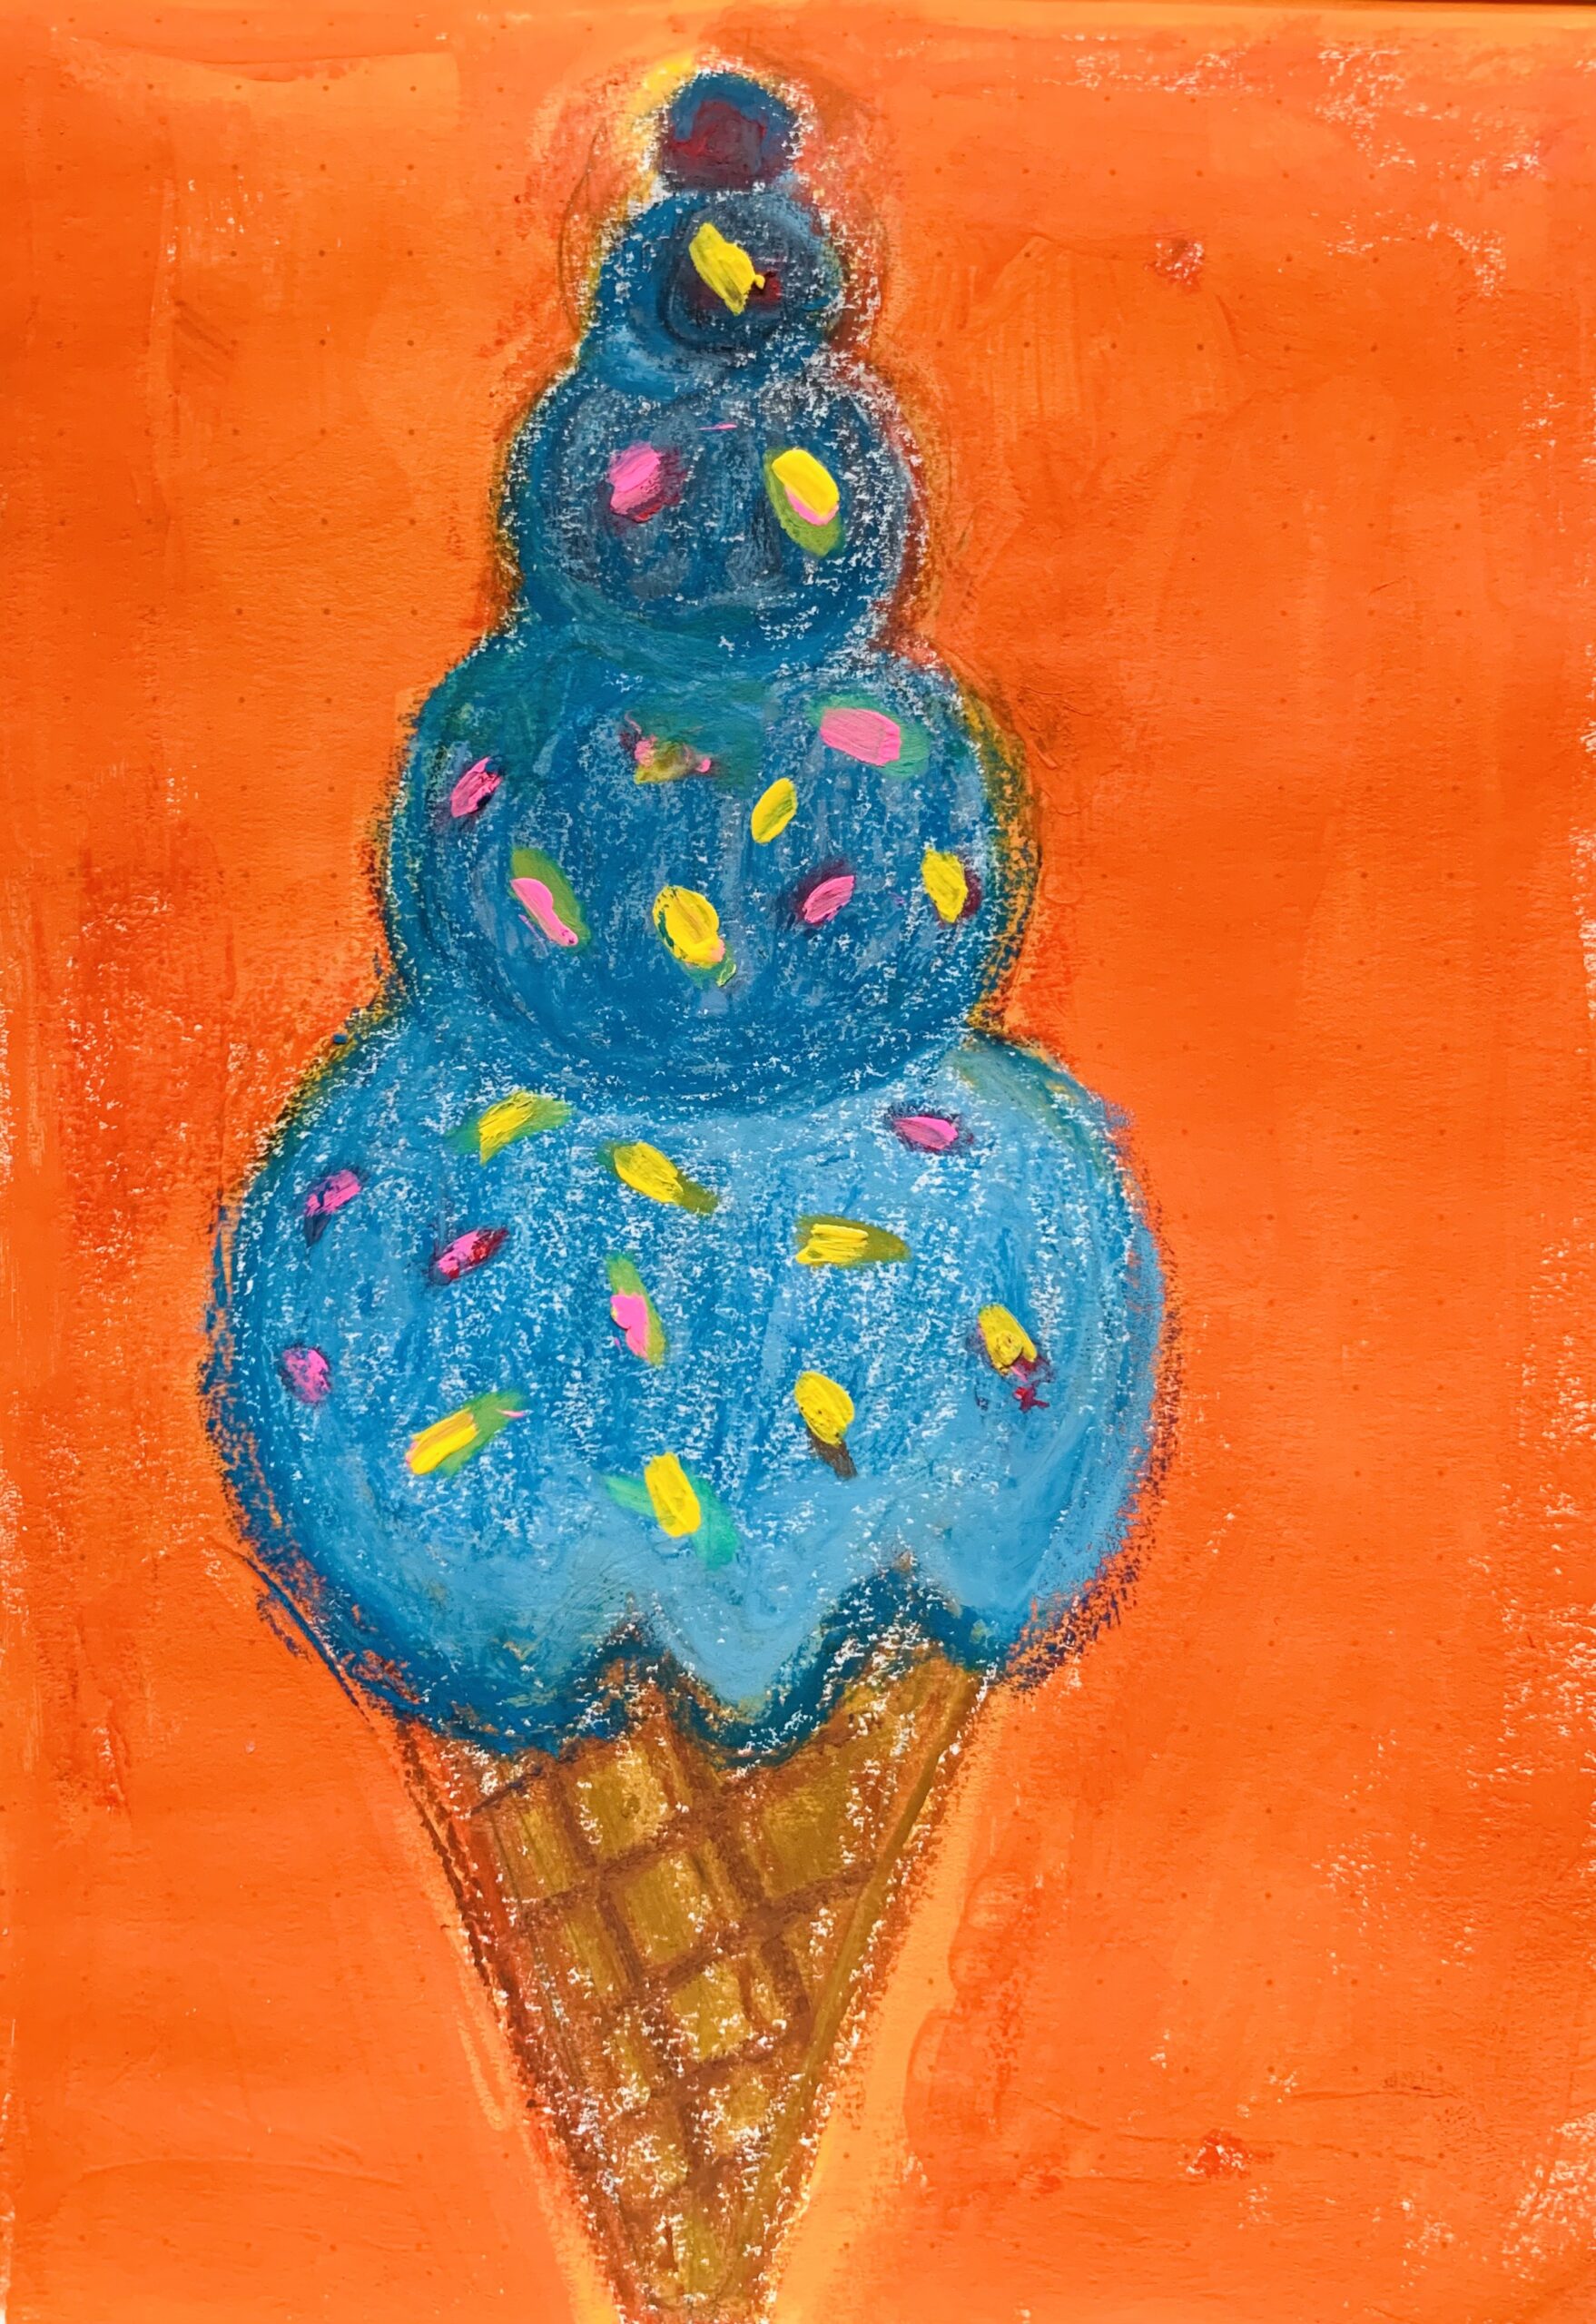
Fun Activity: Paint Ice Cream Cones with Tints and Shades
One of the best ways to teach students about tints and shades is through a hands-on activity. This fun and easy exercise involves painting ice cream cones with various tints and shades of their favorite colors. It’s a playful yet informative way to explore the concept of color value!
Materials Needed:
- Watercolor, acrylic paints, pastels (red, blue, yellow, etc.)
- White paint or pastel (for creating tints)
- Black paint or pastel (for creating shades)
- Blending tool if using pastels
- Brushes, water containers, and palettes
- Paper or canvas (to paint on)
Instructions:
- Start with a base hue: Choose a color you love (like red, blue, or yellow) to serve as the “ice cream flavor.” This will be the color you’ll modify to create both tints and shades.
- Create tints: Mix your base color with different amounts of white to create several tints. Start with just a little white to keep the color vibrant, and gradually add more white to see how the color lightens.
- Create shades: Mix your base color with black to create different shades. Start with a small amount of black, as it can quickly overpower the color. Keep adding black until you achieve a deep, rich shade of the base color.
- Paint the cones: Draw or trace an ice cream cone on your paper or canvas. The cone itself will remain the same color (maybe a nice brown or beige), but the ice cream scoops should be painted using your different tints and shades. You can layer your tints and shades in any order, experimenting with how light and dark colors interact.
- Add texture and details: Once the ice cream scoops are painted, add some texture! Use different brushstrokes or sponges to make the paint appear bumpy or swirly, like the texture of real ice cream. Add sprinkles or a cherry on top for fun details.
Reflect and Discuss
After completing the activity, take time to reflect and discuss the experience. Ask your students:
- How did the tints and shades affect the look of your ice cream cones?
- Which do you prefer: the light, airy tints, or the rich, dramatic shades?
- How can you use tints and shades in future artworks to create depth or highlight certain elements?
This activity not only makes color theory fun but also gives students the opportunity to express their creativity while learning a vital concept in painting!
Conclusion
Creating tints and shades is a powerful way to manipulate color in your artwork. By adding white or black to a hue, you can control its value and create more complex, vibrant, and dynamic pieces. The ice cream cone activity is a simple yet engaging way to explore this concept. Remember, practice is key—so keep experimenting with tints and shades in all your projects!
Happy painting! 🍦🎨


