One-point perspective drawing is a crucial skill for aspiring architects, engineers, and professionals in design and construction. It provides a way to visually represent 3D space on a 2D surface, helping to create realistic depictions of buildings, streets, and other structures. Understanding how to use perspective is essential for anyone involved in the design, planning, and construction of the built environment.
Why is One-Point Perspective Important?
Visualizing Space and Proportions:
One-point perspective allows architects and engineers to translate their ideas from conceptual sketches into clear, structured drawings. By converging lines towards a single vanishing point, it accurately represents how objects appear smaller as they recede into the distance. This skill is necessary for designing and conveying the scale of structures, whether it’s a simple room layout or an entire cityscape.Creating Accurate Designs: In architecture, precise, scaled drawings are essential for construction. One-point perspective is often used in creating detailed floor plans and elevations, allowing architects to see how different components of a building interact in space. It helps ensure that designs are realistic and functional. Whether working on a new building or remodeling an existing one, understanding perspective gives professionals the ability to design spaces that are both aesthetically pleasing and practical.
Communication of Ideas:
For architects and engineers, effective communication with clients, contractors, and other stakeholders is crucial. One-point perspective drawings provide an easy-to-understand visual representation of a space, helping everyone involved to grasp the overall layout and design. Clear, detailed perspective drawings can also help in presenting ideas during meetings or presentations, making complex designs more accessible.
How One-Point Perspective is Used in Architecture and Engineering
Architectural renderings:
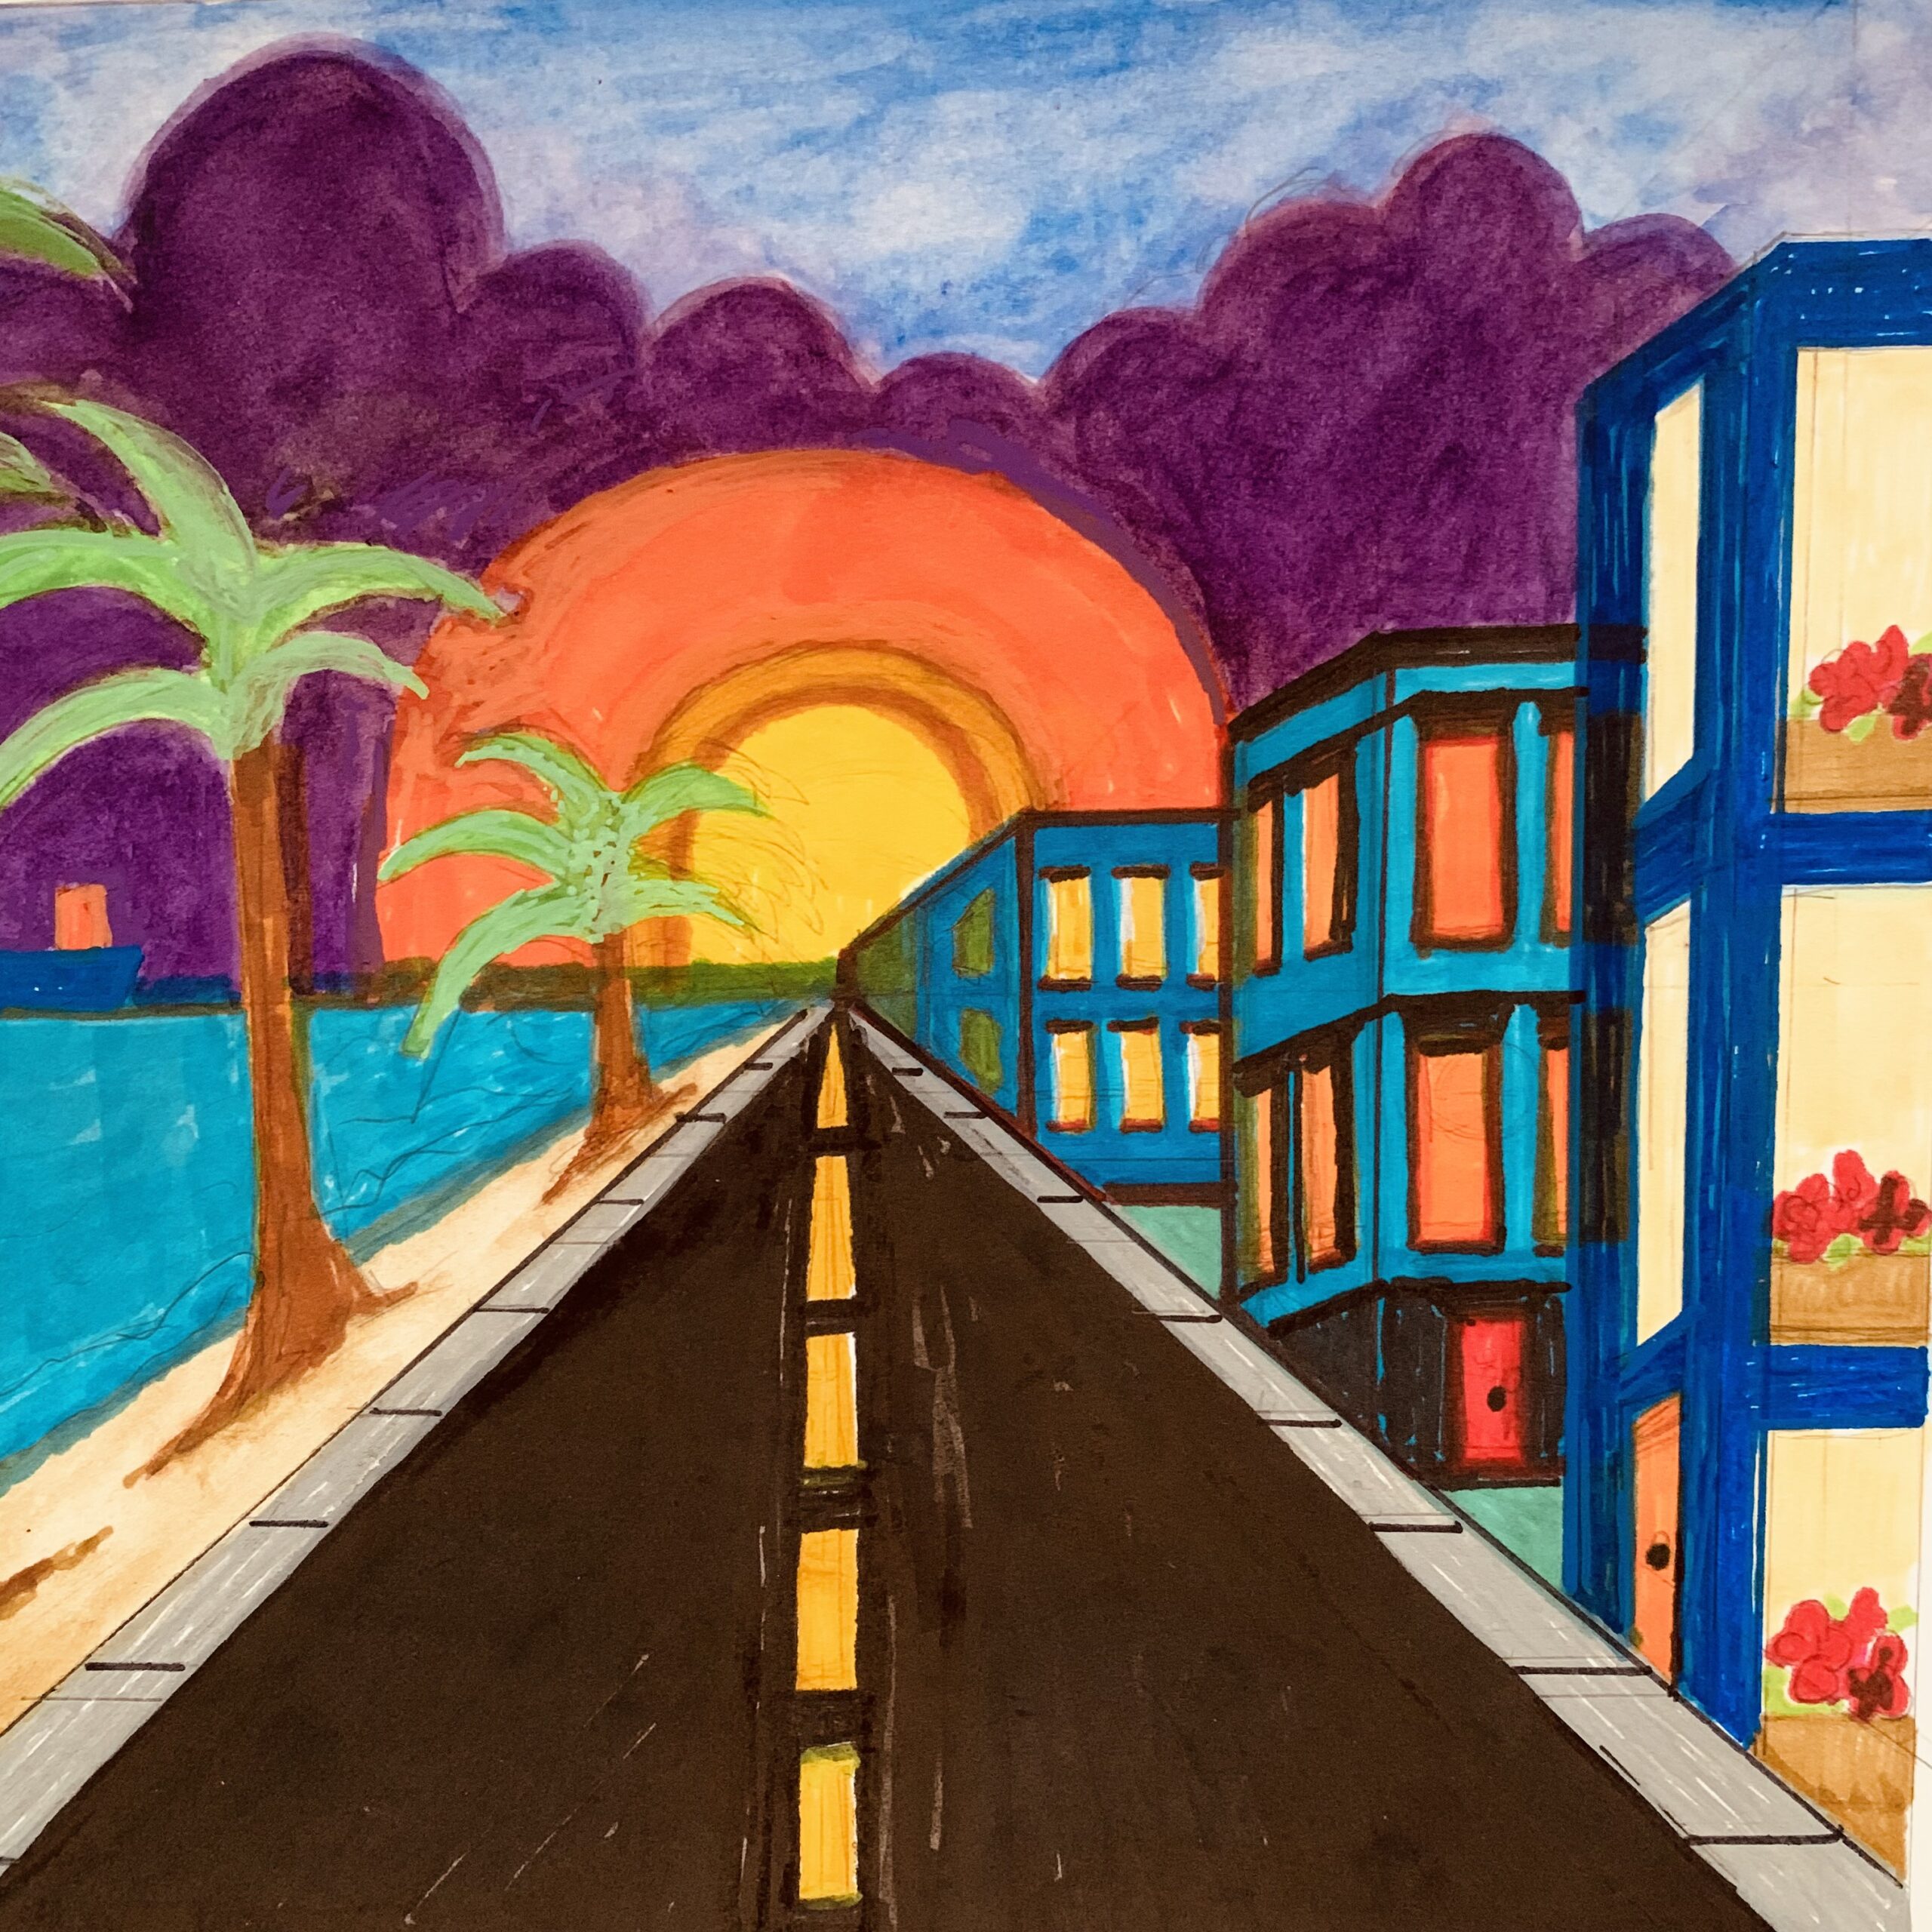
One-point perspective is often used in architectural renderings to create realistic images of buildings and rooms. These drawings allow architects and clients to visualize how a space will look once completed. For instance, in designing a street, the perspective drawing can show how the road and buildings taper toward the horizon, giving the design depth and dimension.
Engineering and Design
Drafting:
Engineers use perspective to visualize the layout of infrastructure such as highways, bridges, and tunnels. One-point perspective helps in drafting designs that demonstrate how structures will fit into the surrounding environment. It’s particularly useful in transportation engineering, where designing roads or railways with accurate proportions ensures functionality and safety.
Urban Planning and Development:
Urban planners use one-point perspective to present street layouts, neighborhoods, and public spaces. It helps in understanding the spatial relationships between various elements of a city, such as roads, buildings, parks, and utilities. The ability to sketch a scene in one-point perspective aids in the planning of accessible and well-organized urban environments.
Applications in Other Relevant Professions
Industrial Design:
Designers who create products or machinery often use one-point perspective to draft their designs. It allows them to visualize and refine the shape and size of a product from different angles. Whether designing furniture or consumer electronics, understanding perspective ensures that designs are both functional and visually appealing.Interior Design: Interior designers use one-point perspective to represent spaces and furnishings accurately. It’s a tool for planning the layout of rooms and creating realistic renderings of how furniture and décor will fit within a space. This helps clients better understand how design decisions impact the overall look and feel of a room.Construction and Project Management: Project managers and construction professionals use perspective drawings to plan construction projects and communicate with contractors. One-point perspective helps in understanding how a building will appear once built and ensuring that all components fit together as planned.
For future architects, engineers, and professionals in the design and construction industries, mastering one-point perspective is foundational. It aids in translating creative ideas into tangible designs, improving communication, and ensuring that projects are executed accurately and efficiently. Whether designing a skyscraper, planning an urban landscape, or creating a new product, one-point perspective plays a crucial role in bringing those visions to life.
Activity:

Teaching one-point perspective drawing to middle school students can be fun and engaging, especially with a street scene. Here’s a simple step-by-step guide:
Materials Needed:
- Paper
- Pencil
- Ruler
- Eraser
Step 1: Draw the Horizon Line
- Start by drawing a horizontal line across the middle of the paper. This line represents the horizon.
- The horizon line will be the eye level, so it’s placed at the center of the page.
Step 2: Add the Vanishing Point
- On the horizon line, mark a small dot in the center of the page. This is the vanishing point where all lines in your drawing will converge.
Step 3: Draw the Road
- From the vanishing point, draw two diagonal lines that slope towards each other. These lines represent the edges of the street or road.
- The road should appear wider at the bottom of the page and gradually narrow as it approaches the vanishing point.
Step 4: Draw Buildings and Sidewalks
- For the buildings on either side of the road, draw vertical lines near the edges of the street. These lines should stay vertical and not angle toward the vanishing point.
- Then, draw lines connecting the top and bottom of the buildings to the vanishing point to give the illusion that they are receding into the distance.
Step 5: Add Details (Windows, Doors, etc.)
- Now, you can add details like windows, doors, or streetlights. For windows and doors, draw horizontal lines from the vanishing point to help them line up correctly.
- Keep the details consistent with the perspective. For example, windows should get smaller as they move toward the vanishing point.
Step 6: Final Touches
- Add any final details like cars, trees, or people.
- Use a ruler to keep lines straight and neat.
- Once the drawing looks good, erase any unnecessary lines.
Tips for Success:
- Emphasize that all lines parallel to the street (like the edges of the road) should head toward the vanishing point.
- Encourage students to experiment with adding elements like sidewalks, power lines, and parked cars.
This method will help students understand how objects appear smaller the farther they get from the viewer, and it’s an exciting way to bring depth and dimension to a basic street scene!


